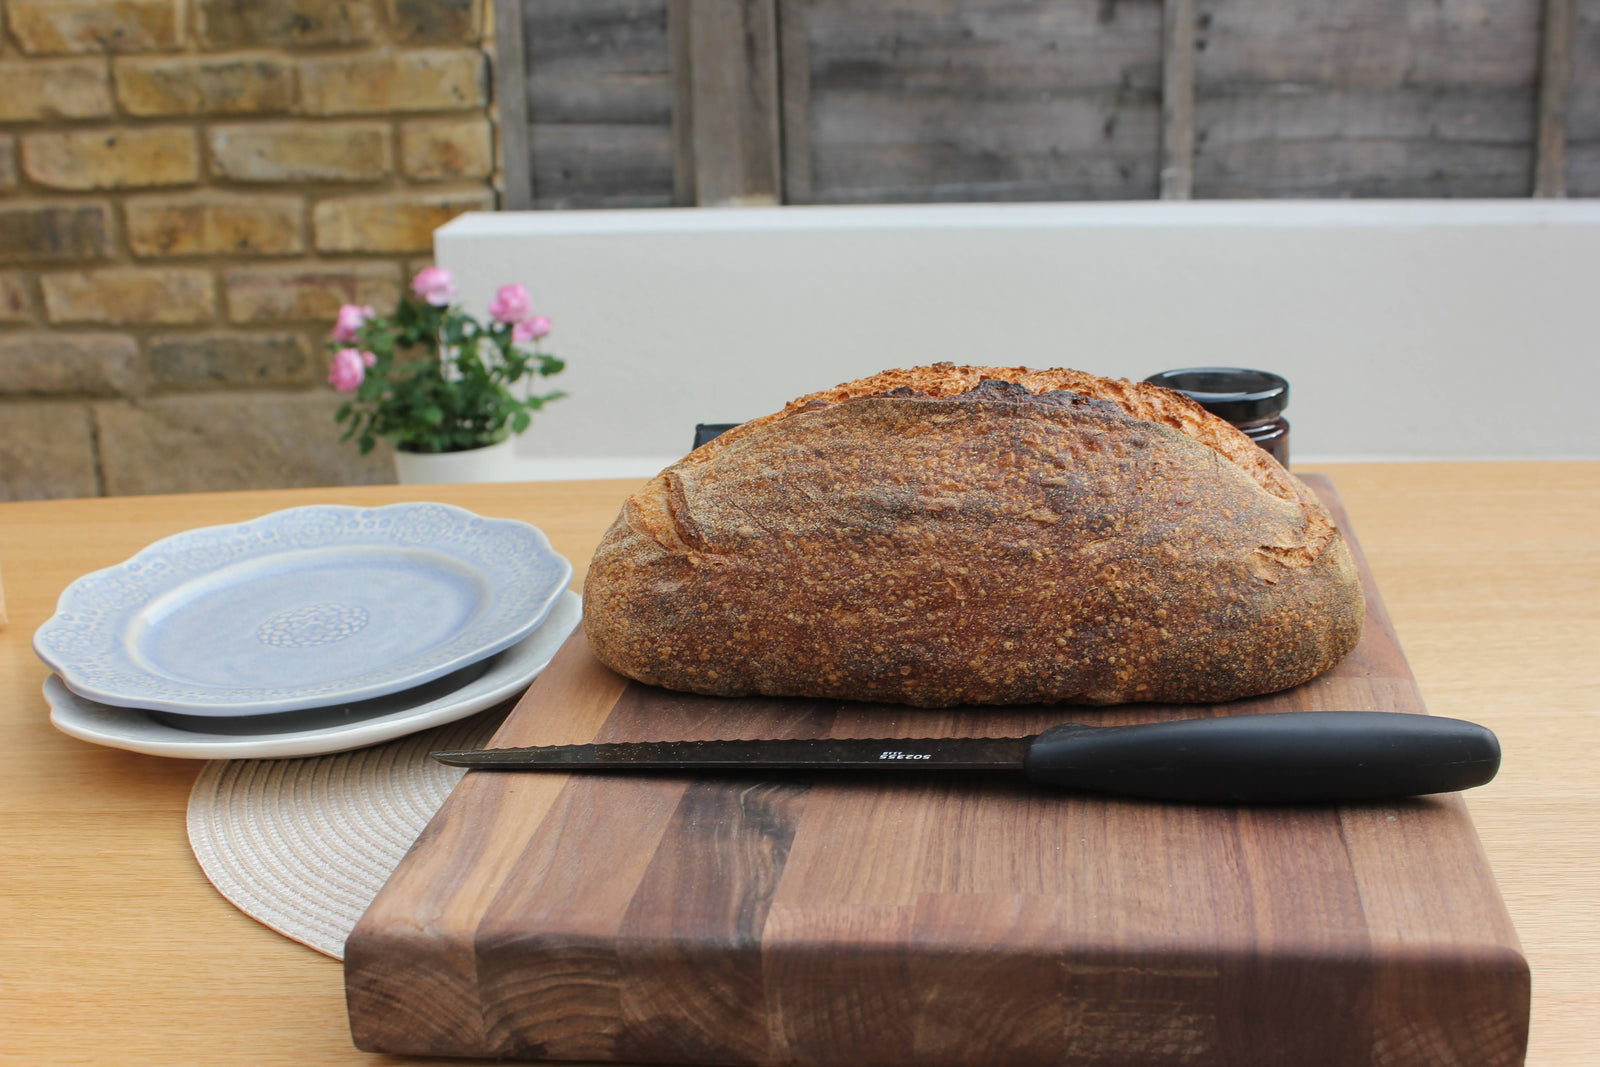
How to Make Perfect Sourdough Bread at Home

Craving the tangy, chewy goodness of freshly baked sourdough bread? While making sourdough at home can be a rewarding experience, it does require time, patience, and practice.
If you're short on time or prefer to leave it to the experts, why not try our Butter & Crust delivery service?
We bring artisanal sourdough bread straight from local London bakeries to your doorstep. But for those eager to embark on their sourdough journey, let's dive into a simple guide filled with helpful tips and tricks to make delicious sourdough bread at home.
Getting Started: Creating Your Sourdough Starter
The heart of any sourdough bread is its starter – a fermented mixture of flour and water that contains wild yeast and bacteria. Here's how to make your own:- Mix equal parts flour and water (by weight) in a clean jar.
- Leave it at room temperature and feed it daily with equal parts flour and water.
- After 5-7 days, your starter should be bubbly and have a pleasant, sour smell.
Pro Tip: Use whole wheat or rye flour for the first few days to kickstart fermentation, then switch to all-purpose flour.For more detailed instructions on creating and maintaining a sourdough starter, check out The Perfect Loaf's guide.
The Basic Sourdough Recipe
Now that you have your starter, let's make some bread!Ingredients:
- 500g bread flour
- 350g water
- 100g active sourdough starter
- 10g salt
And that's it!
Method:- Mix: Combine all ingredients in a large bowl. Mix until no dry flour remains.
- Bulk Fermentation: Cover and let rest at room temperature for 4-6 hours, performing stretch and folds every 30 minutes for the first 2 hours.
- Shape: Turn the dough onto a lightly floured surface. Shape into a boule or batard.
- Final Proof: Place the shaped dough in a proofing basket or bowl lined with a floured tea towel. Cover and refrigerate overnight (8-12 hours).
- Bake: Preheat your oven to 240°C (465°F) with a Dutch oven inside. Score your dough, place it in the hot Dutch oven, and bake for 20 minutes with the lid on, then 20-25 minutes with the lid off.
- Cool: Allow the bread to cool completely before slicing.
For a visual guide to shaping techniques, King Arthur Baking offers excellent tutorials.
Tips and Tricks for Sourdough Success
- Temperature Matters: Sourdough fermentation is temperature-dependent. Warmer temperatures speed up the process, while cooler temperatures slow it down. Use this to your advantage when planning your baking schedule.
- The Float Test: To check if your starter is ready, drop a small amount into water. If it floats, it's good to go!
- Autolyse: Mix just the flour and water, and let it rest for 30 minutes before adding the starter and salt. This improves dough structure and flavour.
- Use a Scale: Baking is a science, and accurate measurements are crucial. Invest in a good digital kitchen scale for best results.
- Create Steam: For a crispy crust, place a tray of boiling water in the bottom of your oven when you start baking. The steam helps the bread rise and develop a beautiful crust.
- Be Patient: Sourdough baking takes time. Don't rush the process – the long fermentation is what gives sourdough its distinctive flavour and texture.
- Experiment with Flours: Once you're comfortable with the basic recipe, try incorporating different flours like rye, spelt, or whole wheat for varied flavours and textures.
- Keep a Baking Journal: Note down your process, timings, and results. This will help you refine your technique over time.
Troubleshooting Common Sourdough Issues
Even experienced bakers encounter challenges. Here are solutions to common problems:- Flat Bread: This could be due to overproofing or weak gluten development. Try reducing proofing time or performing more stretch and folds.
- Dense Crumb: Underproofing or insufficient gluten development could be the culprit. Extend your bulk fermentation or final proof time.
- Gummy Texture: This often results from cutting into the bread too soon. Always let your bread cool completely before slicing.
- Pale Crust: Your oven might not be hot enough. Ensure it's fully preheated and consider using a baking stone or steel for better heat retention.
For more troubleshooting tips, The Bread Guide offers comprehensive advice on common sourdough problems.
Storing Your Sourdough
To maintain that crispy crust, store your bread cut-side down on a cutting board for the first day. After that, keep it in a paper bag or bread box. Avoid plastic bags, as they can make the crust soggy.
If you won't eat the bread within a few days, slice and freeze it.
Toast slices straight from the freezer for a quick treat.
Conclusion
Making sourdough bread at home is a journey of discovery, filled with the occasional challenge but also immense satisfaction. As you practice, you'll develop a feel for the dough and create loaves that rival those from artisanal bakeries.
Remember, while homemade sourdough is rewarding, it does require time and patience. On those busy days when you crave fresh sourdough but don't have the time to bake, our Butter & Crust delivery service is here to help. We bring the best of London's artisanal sourdough straight to your door, saving you time without compromising on quality.
Whether you're baking your own or enjoying our delivered loaves, there's nothing quite like the taste of fresh sourdough bread.
Happy baking!


